Usage
Slice is a cross-platform GUI app that works on recent Linux distros, macOS, and Windows. It supports otf, ttf, woff, and woff2 format variable font input files.
The app creates output fonts with combinations of:
- Fixed design axis locations
- Restricted variable axis ranges that are smaller than the range in the original font (new range must include the default axis value!)[1]
- Full variable axis ranges that are present in the original font
The instructions below describe how to define these values and compile fonts.
Quick Start Guide
Drag and drop a variable font onto the Font Path text field.
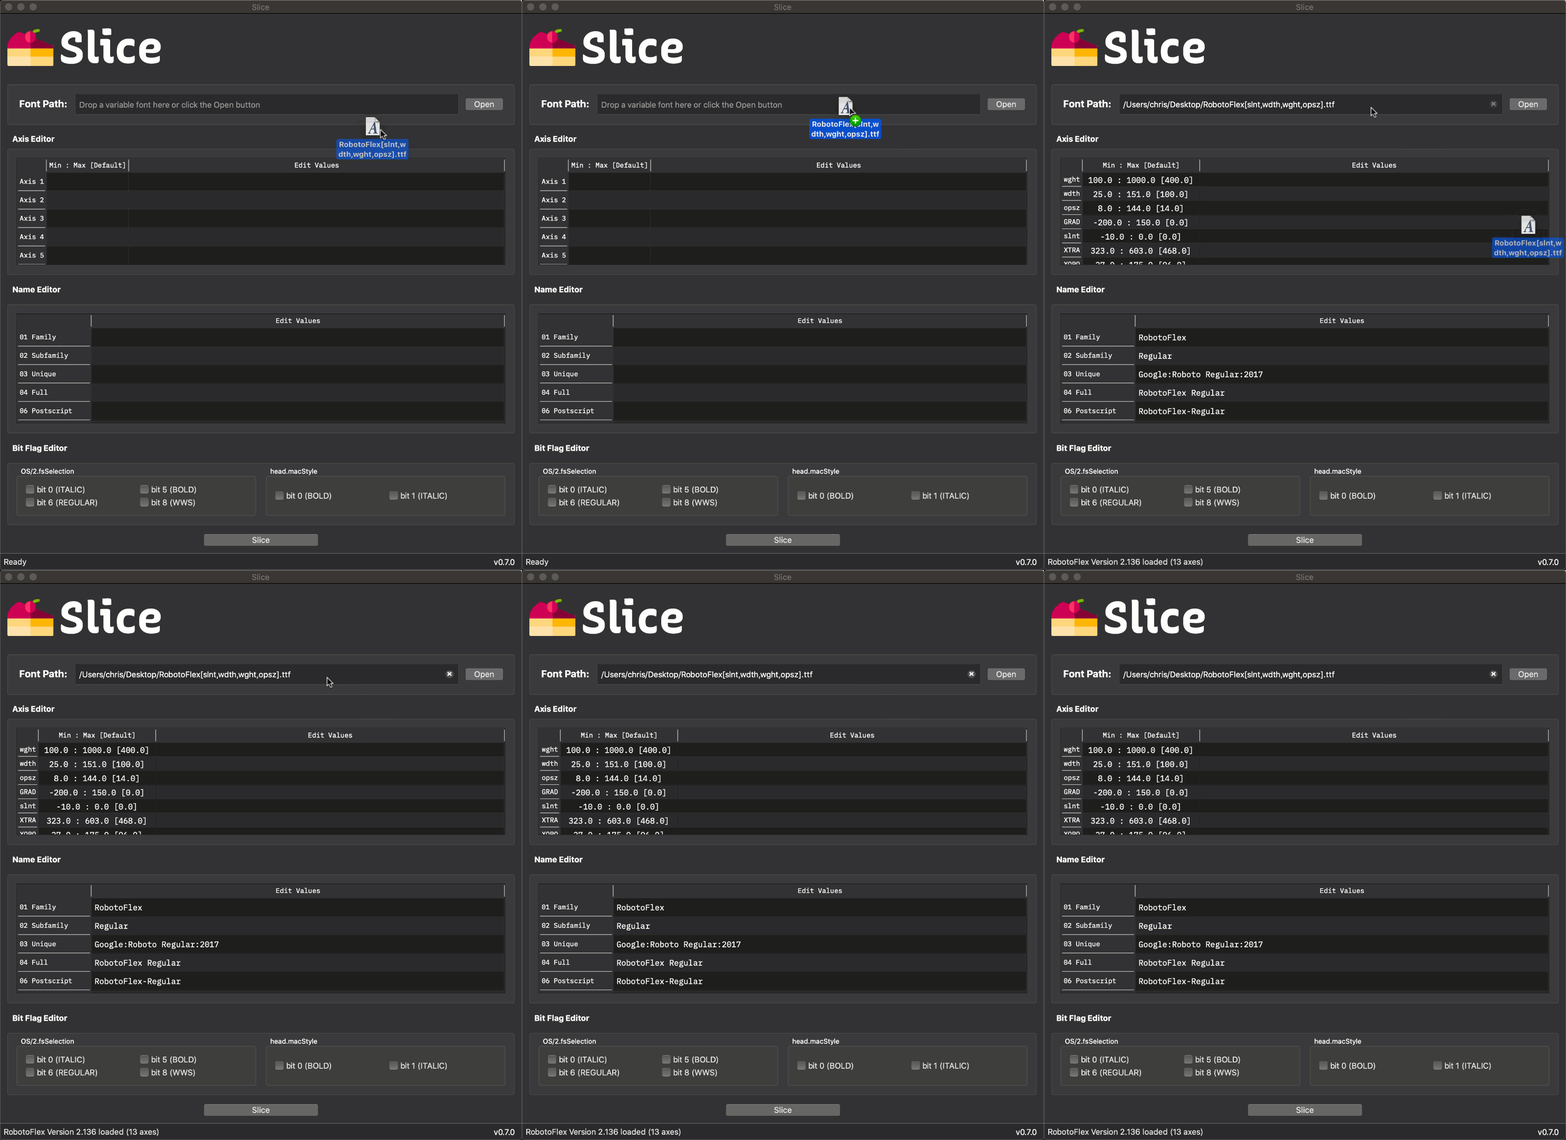
The variable design axes appear in the Axis Editor with corresponding range and default values.
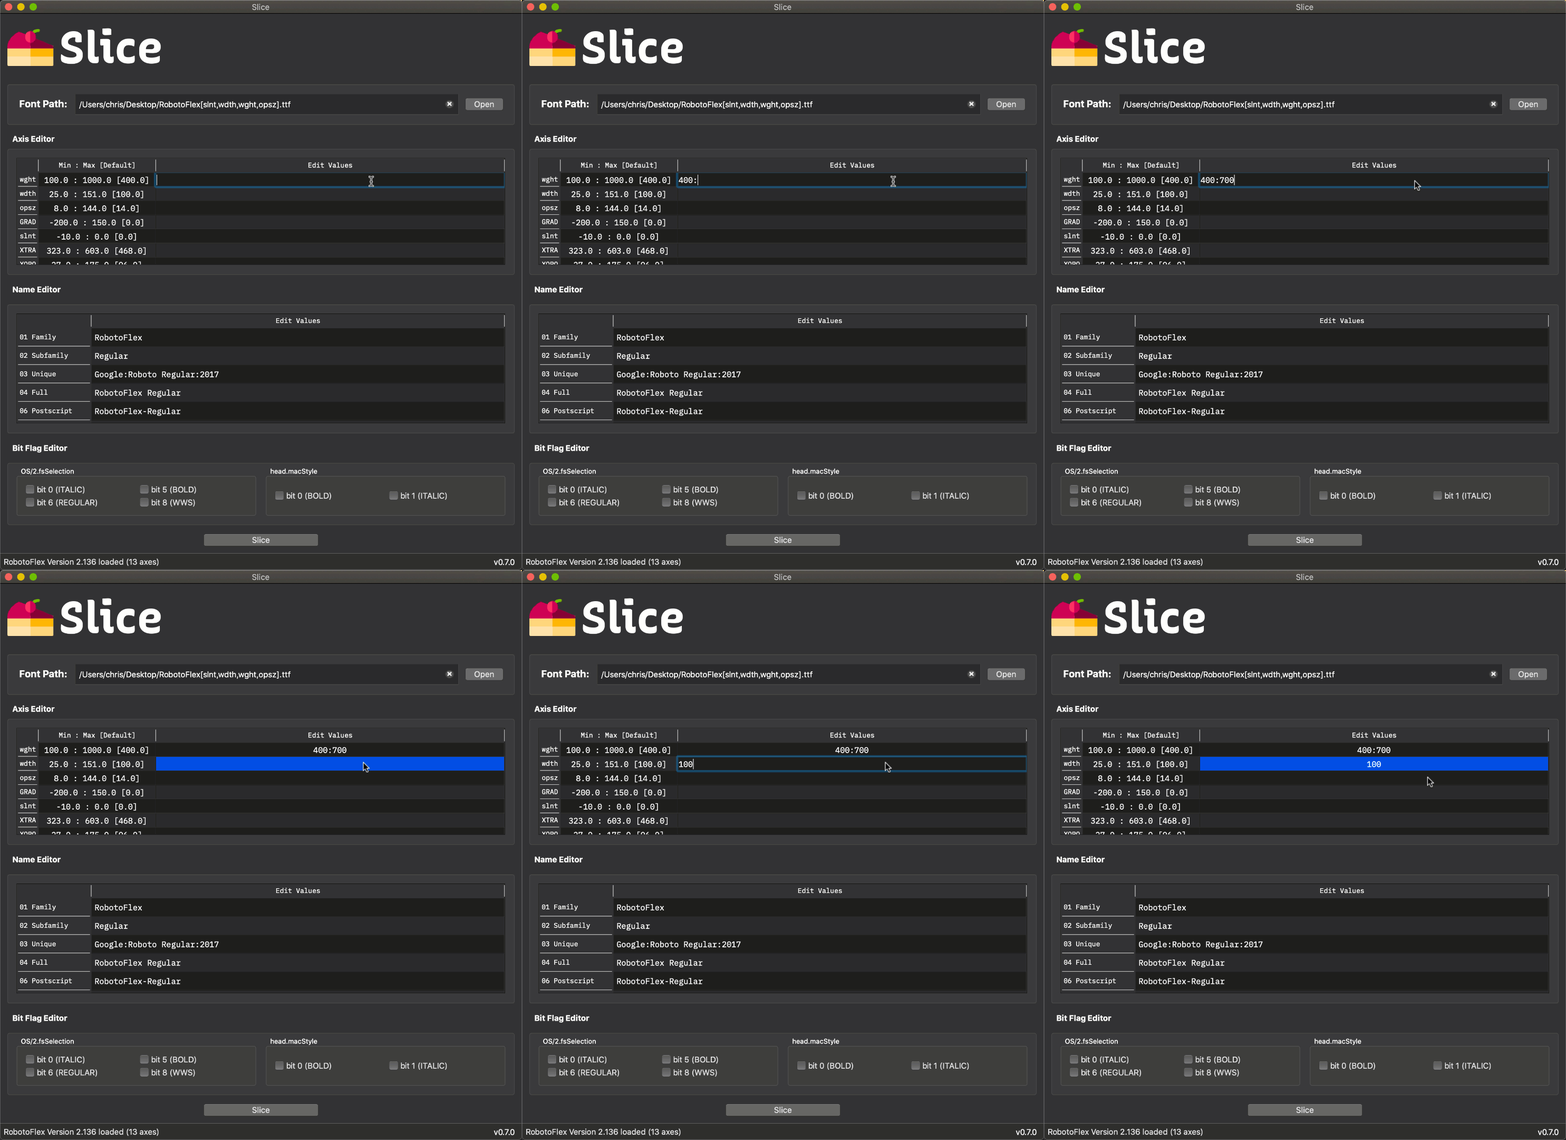
Define each axis row with the following syntax:
| Axis definition | Axis Editor Syntax | Example |
|---|---|---|
| Fixed axis location | Integer or float value | 400.0 |
| Restricted axis range | Colon-delimited min:max integer or float range | 200:700 |
| Full axis range | Leave field blank | n/a |
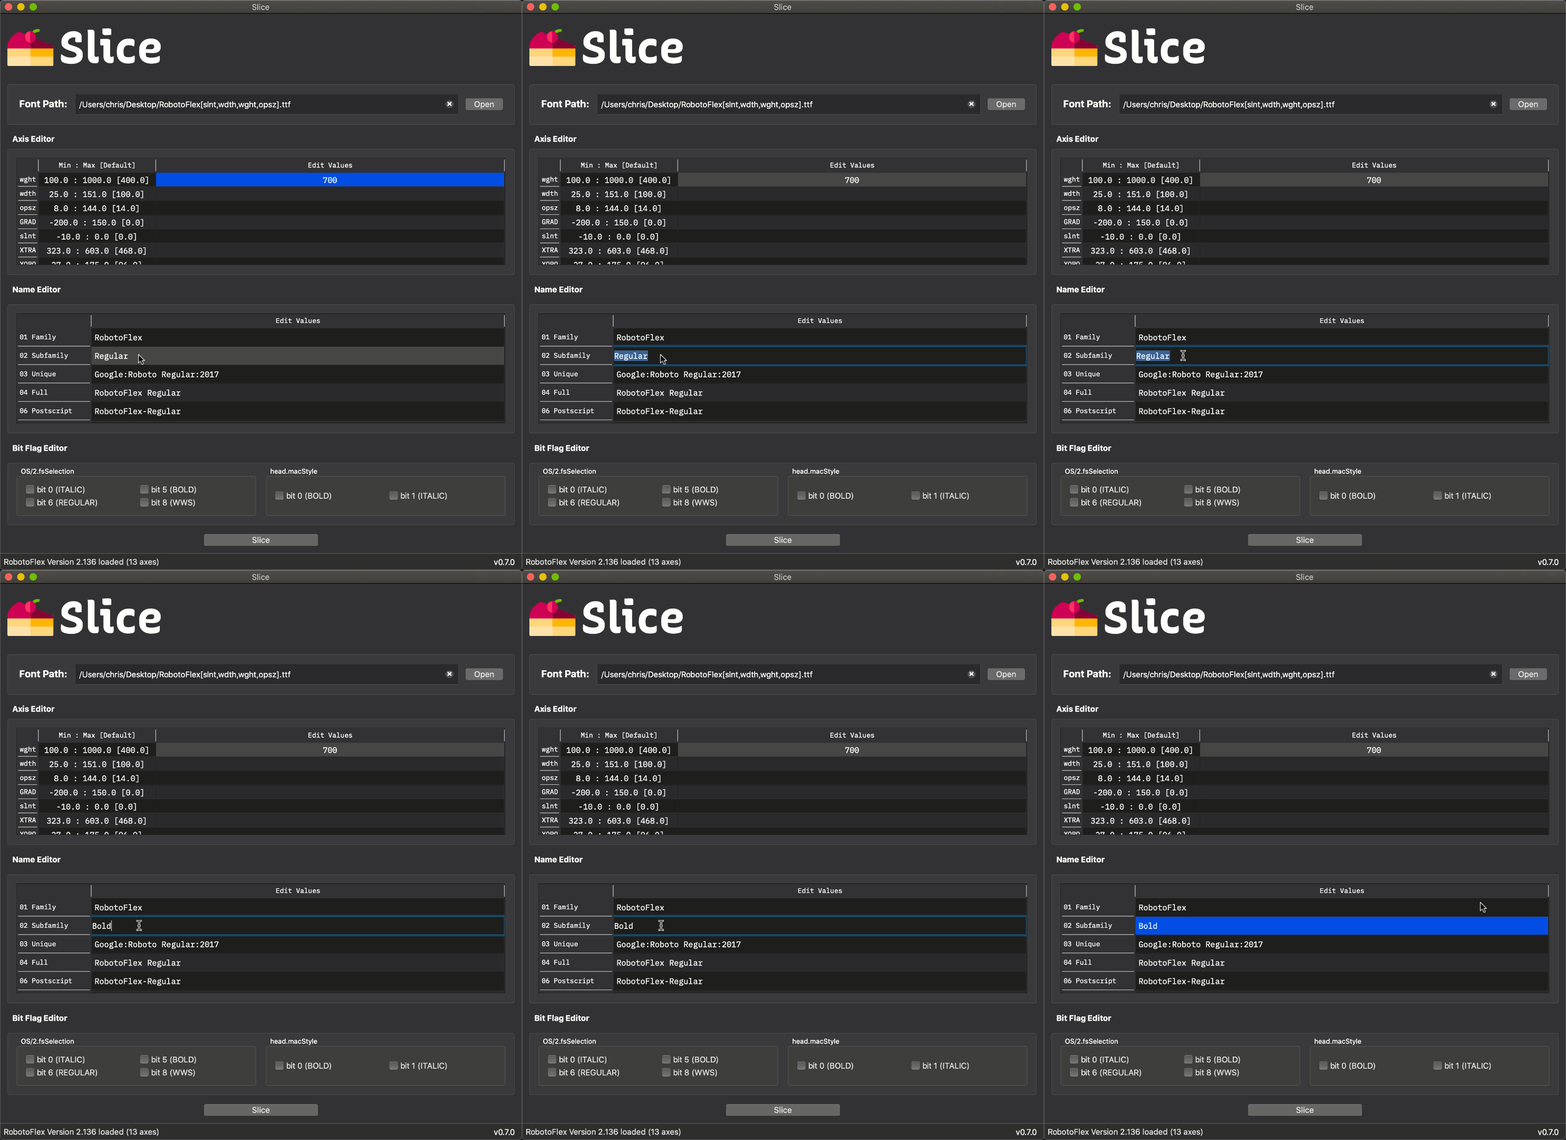
(Optional developer step) Click on a Name Editor row and enter a new family or style name.
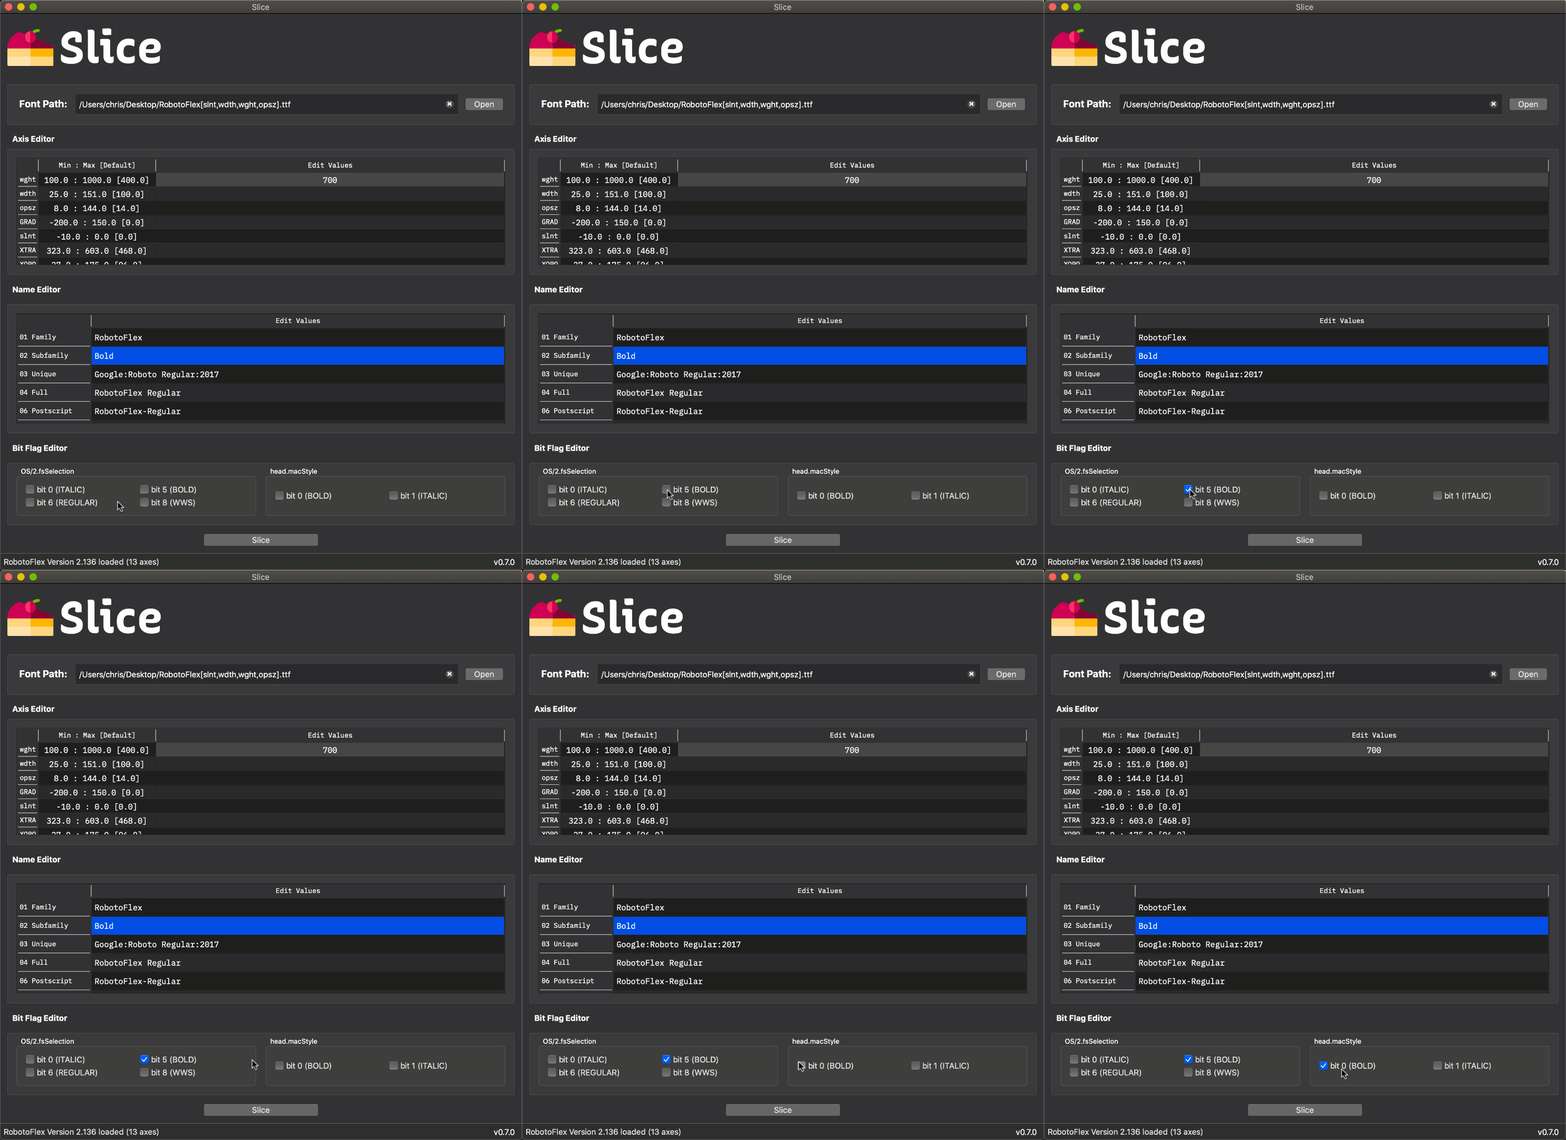
(Optional developer step) Click on a setting in the Bit Flag Editor to set or clear bit flags.
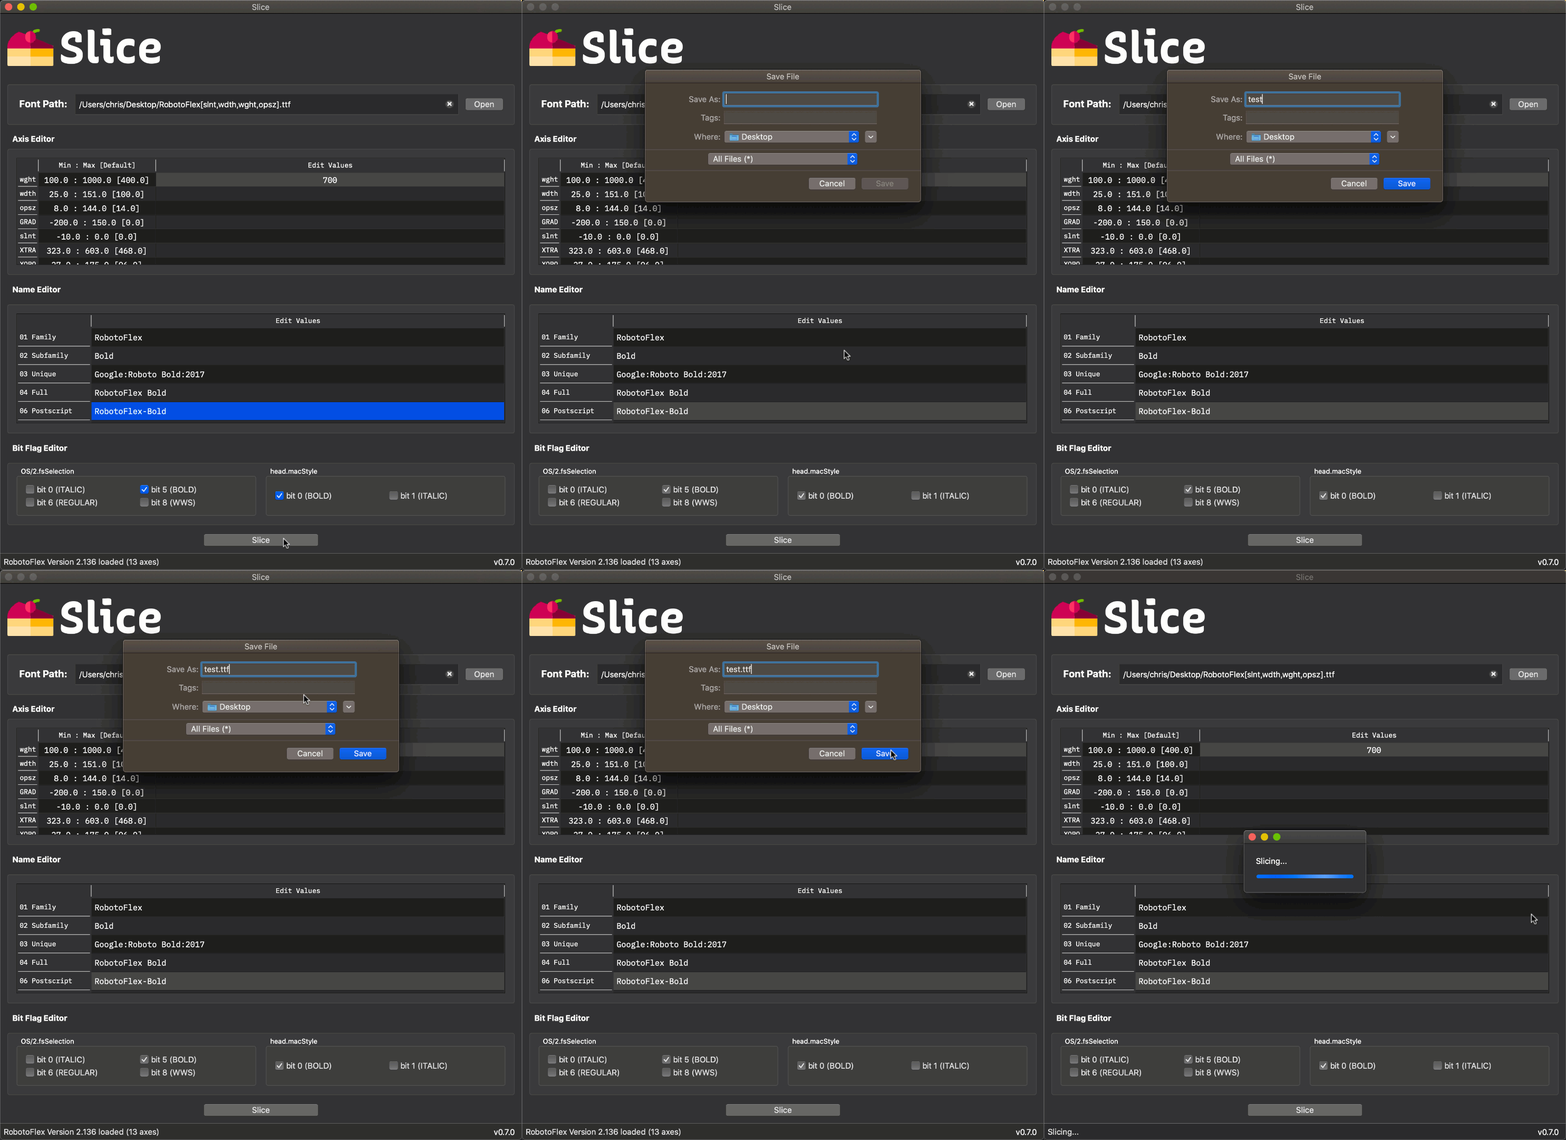
Click the Slice button and enter a file path for your new font.
1: Default axis locations are required to compile valid variable font format files. The default axis value defined in the original font must be included in the restricted axis range due to the lack of compiler support for default axis location moves during the slicing process. We intend to support default axis location moves when it is possible to do so. This issue is being tracked on our GitHub tracker.